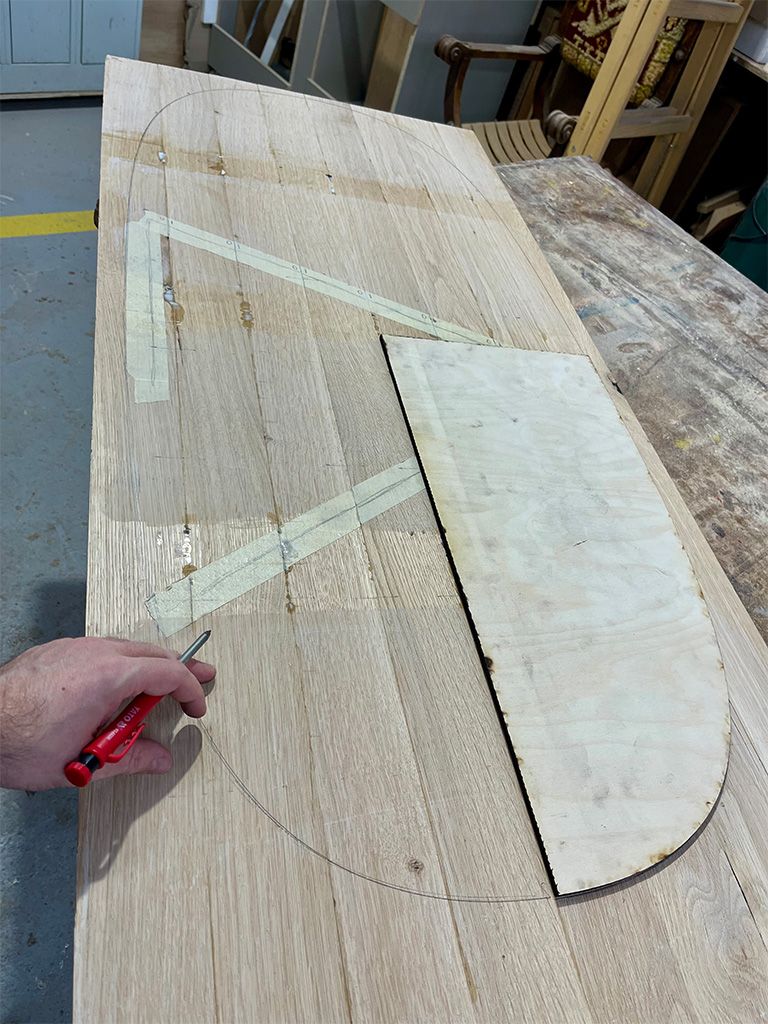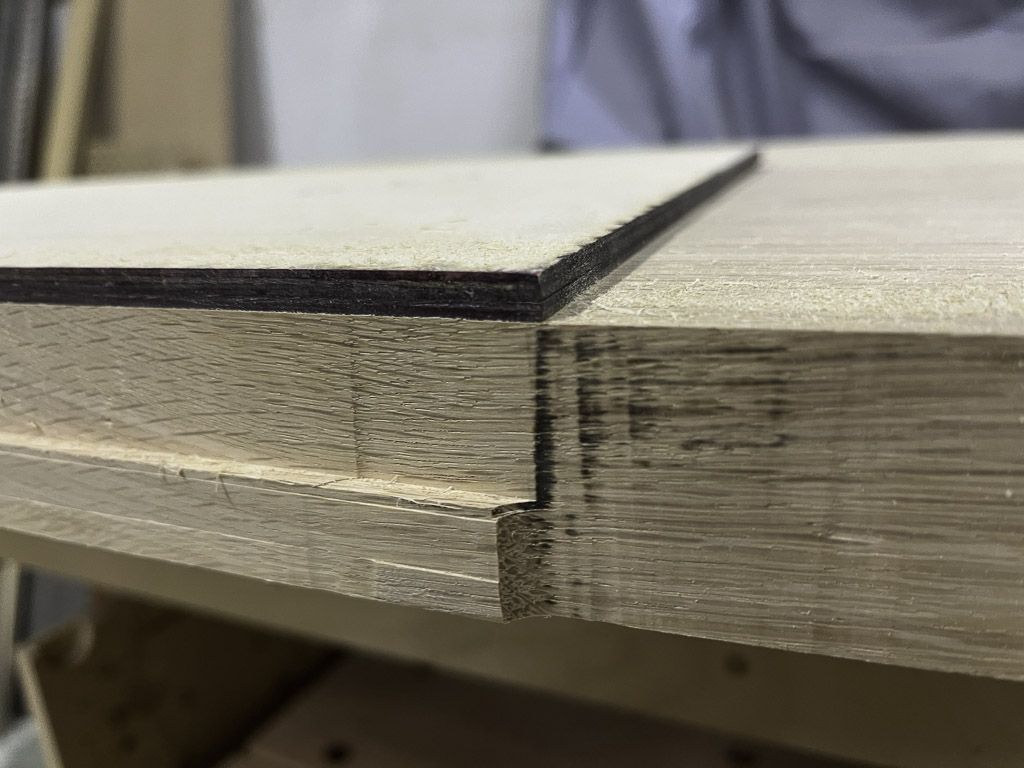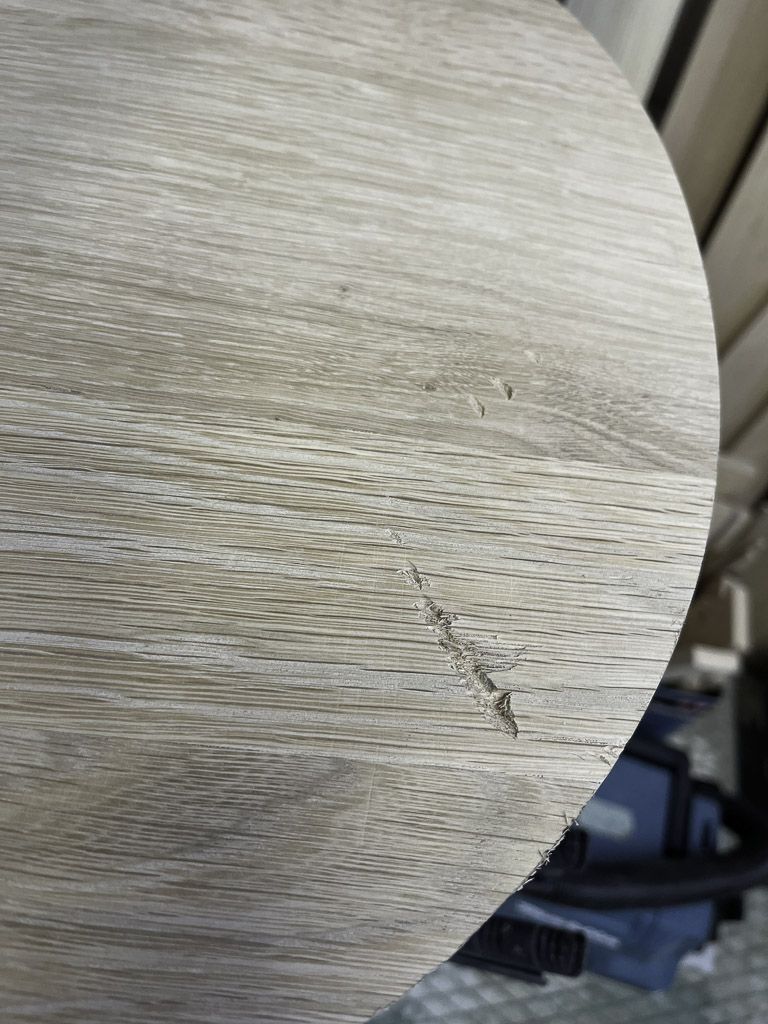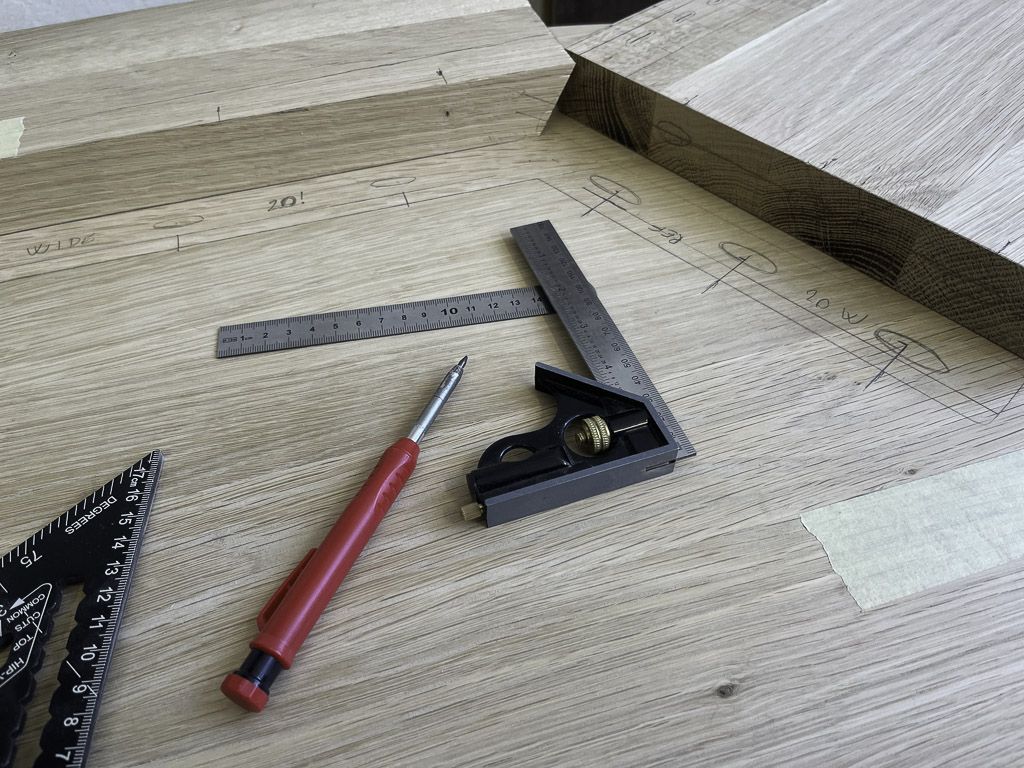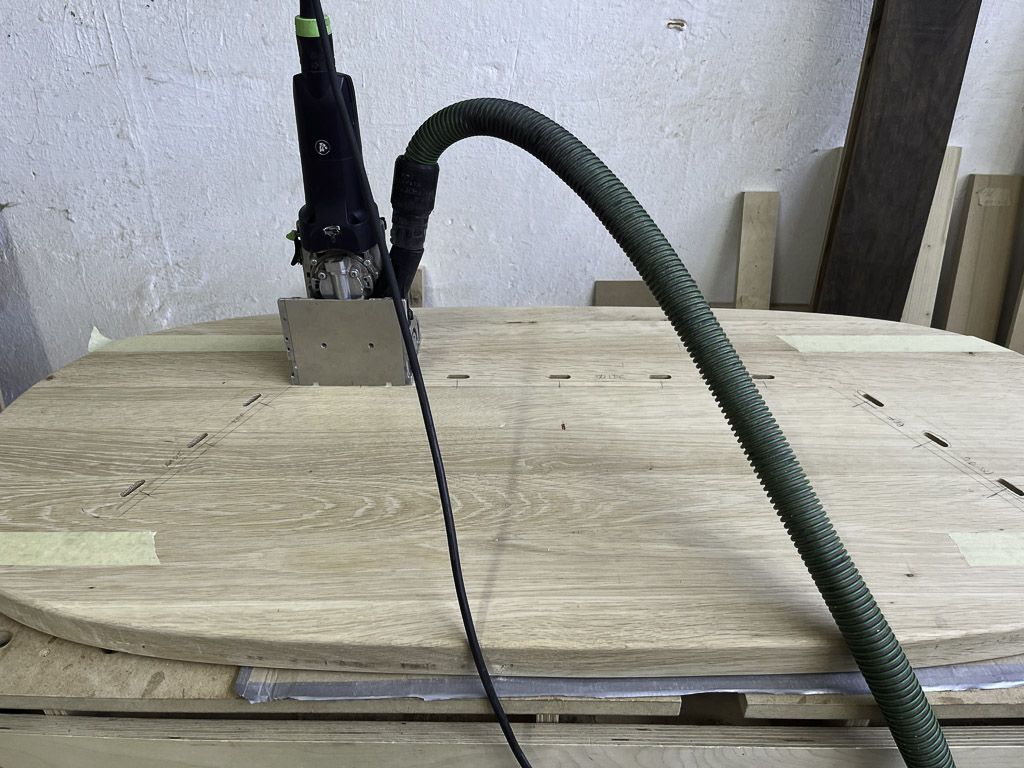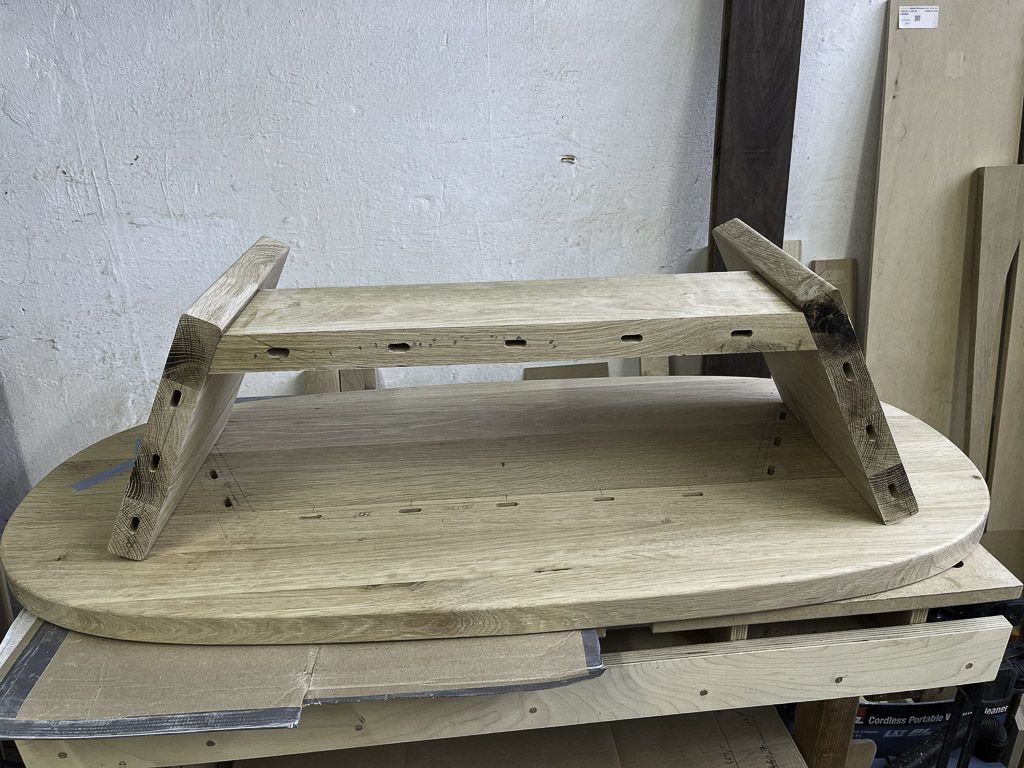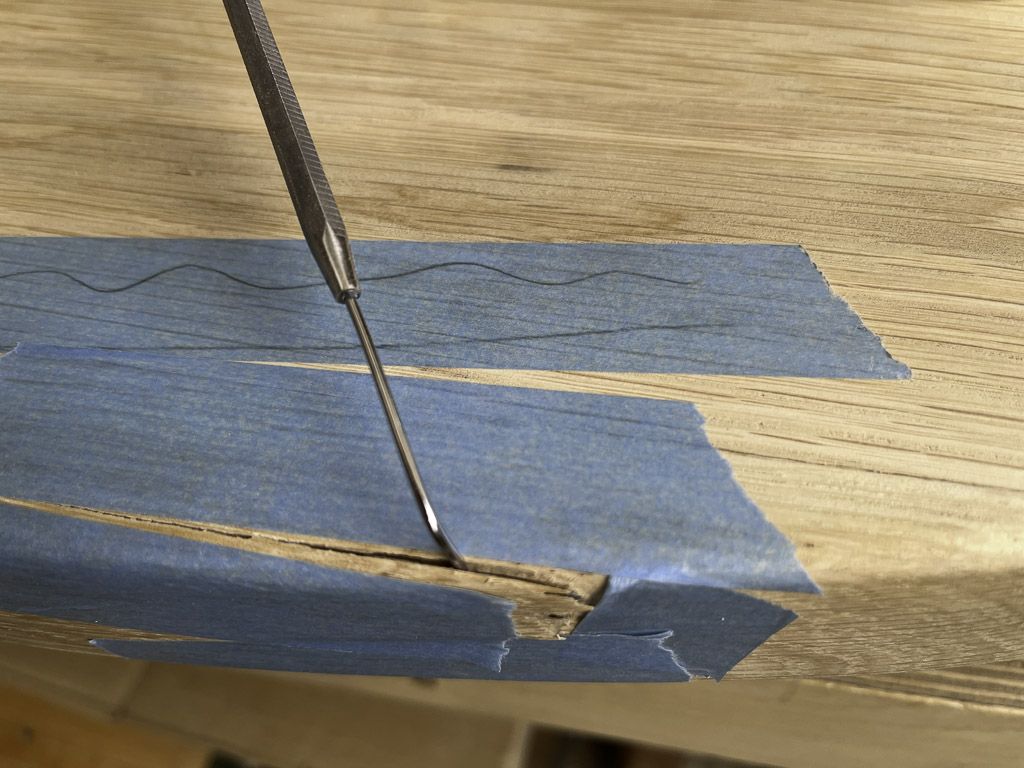
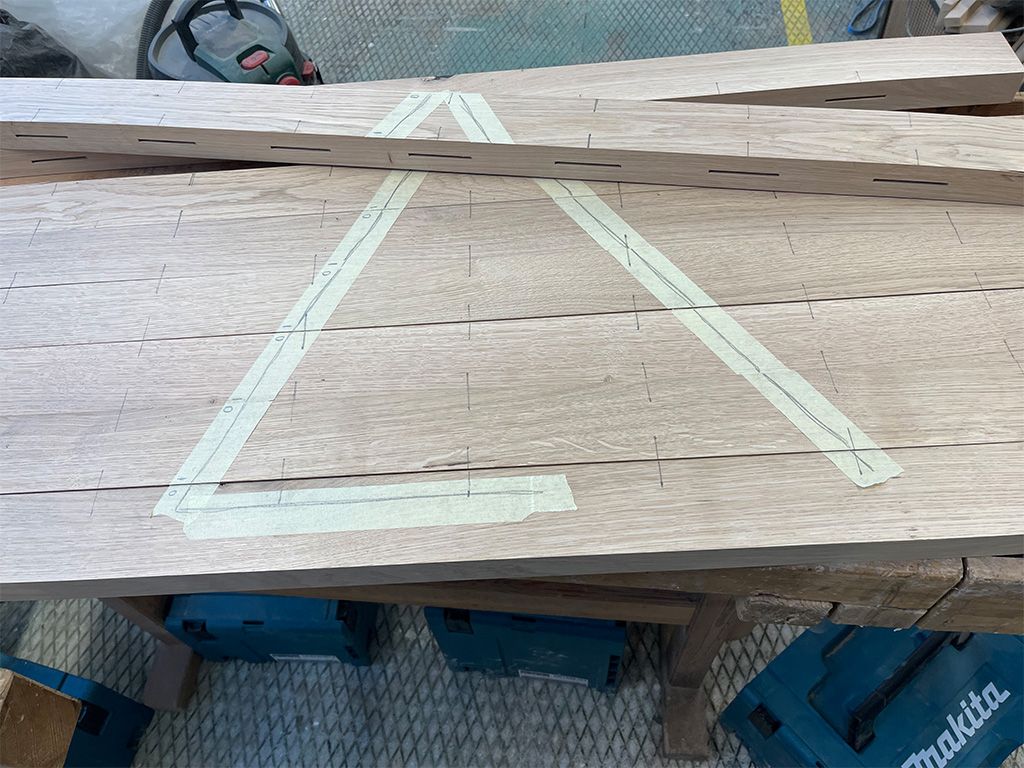
And that was the moment I realised I forgot to take the oval shape into account when carefully planning the positions for the biscuits.
I had been so precise. I triple-checked my measurements, aligned everything, and made sure I wouldn't accidentally cut into the biscuits—only to realise too late that their placement didn’t account for the tabletop’s oval shape. And so, there they were—biscuits, peeking out right on the edge, reminding me that no matter how much I plan, reality always has a surprise in store.
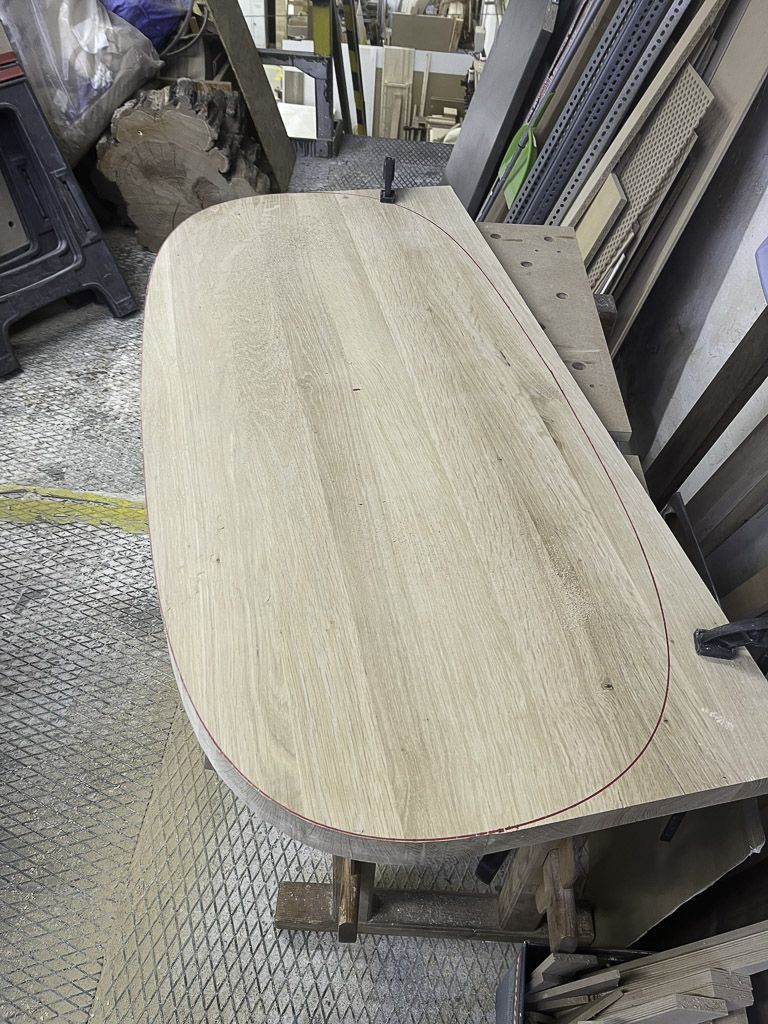
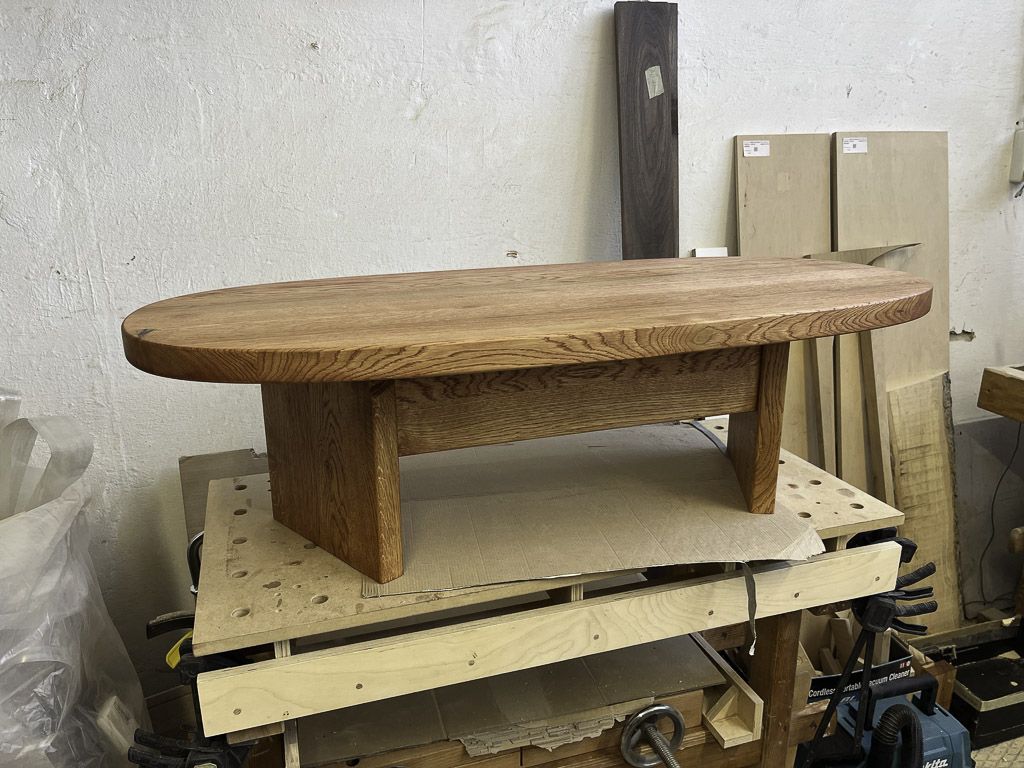
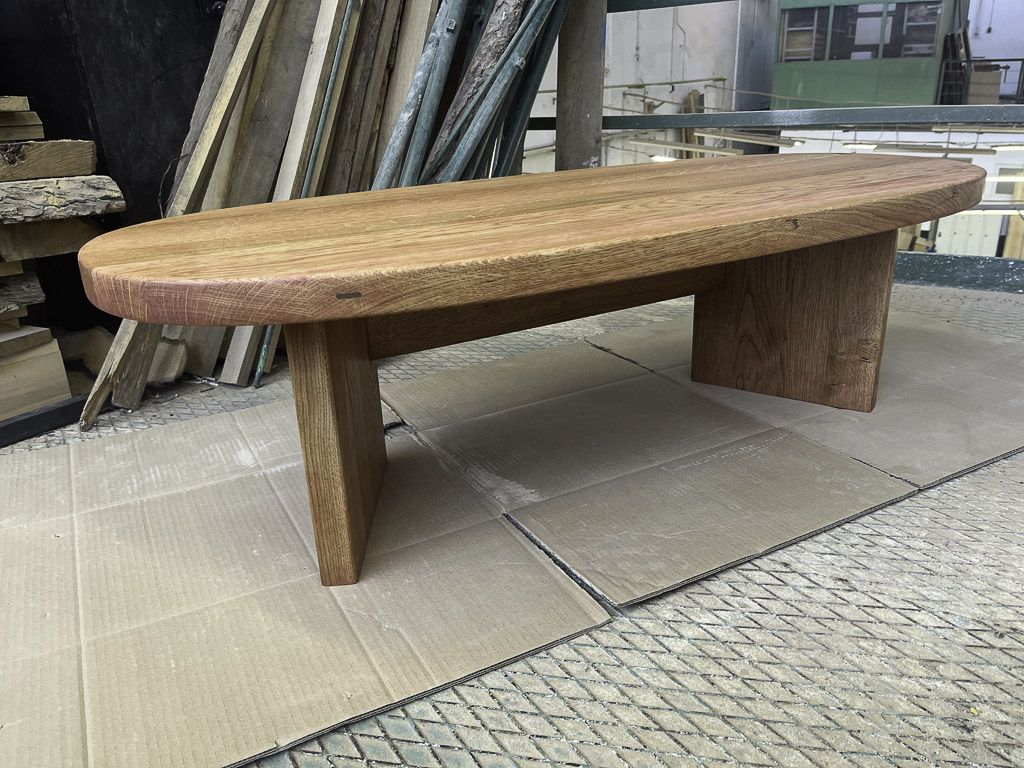
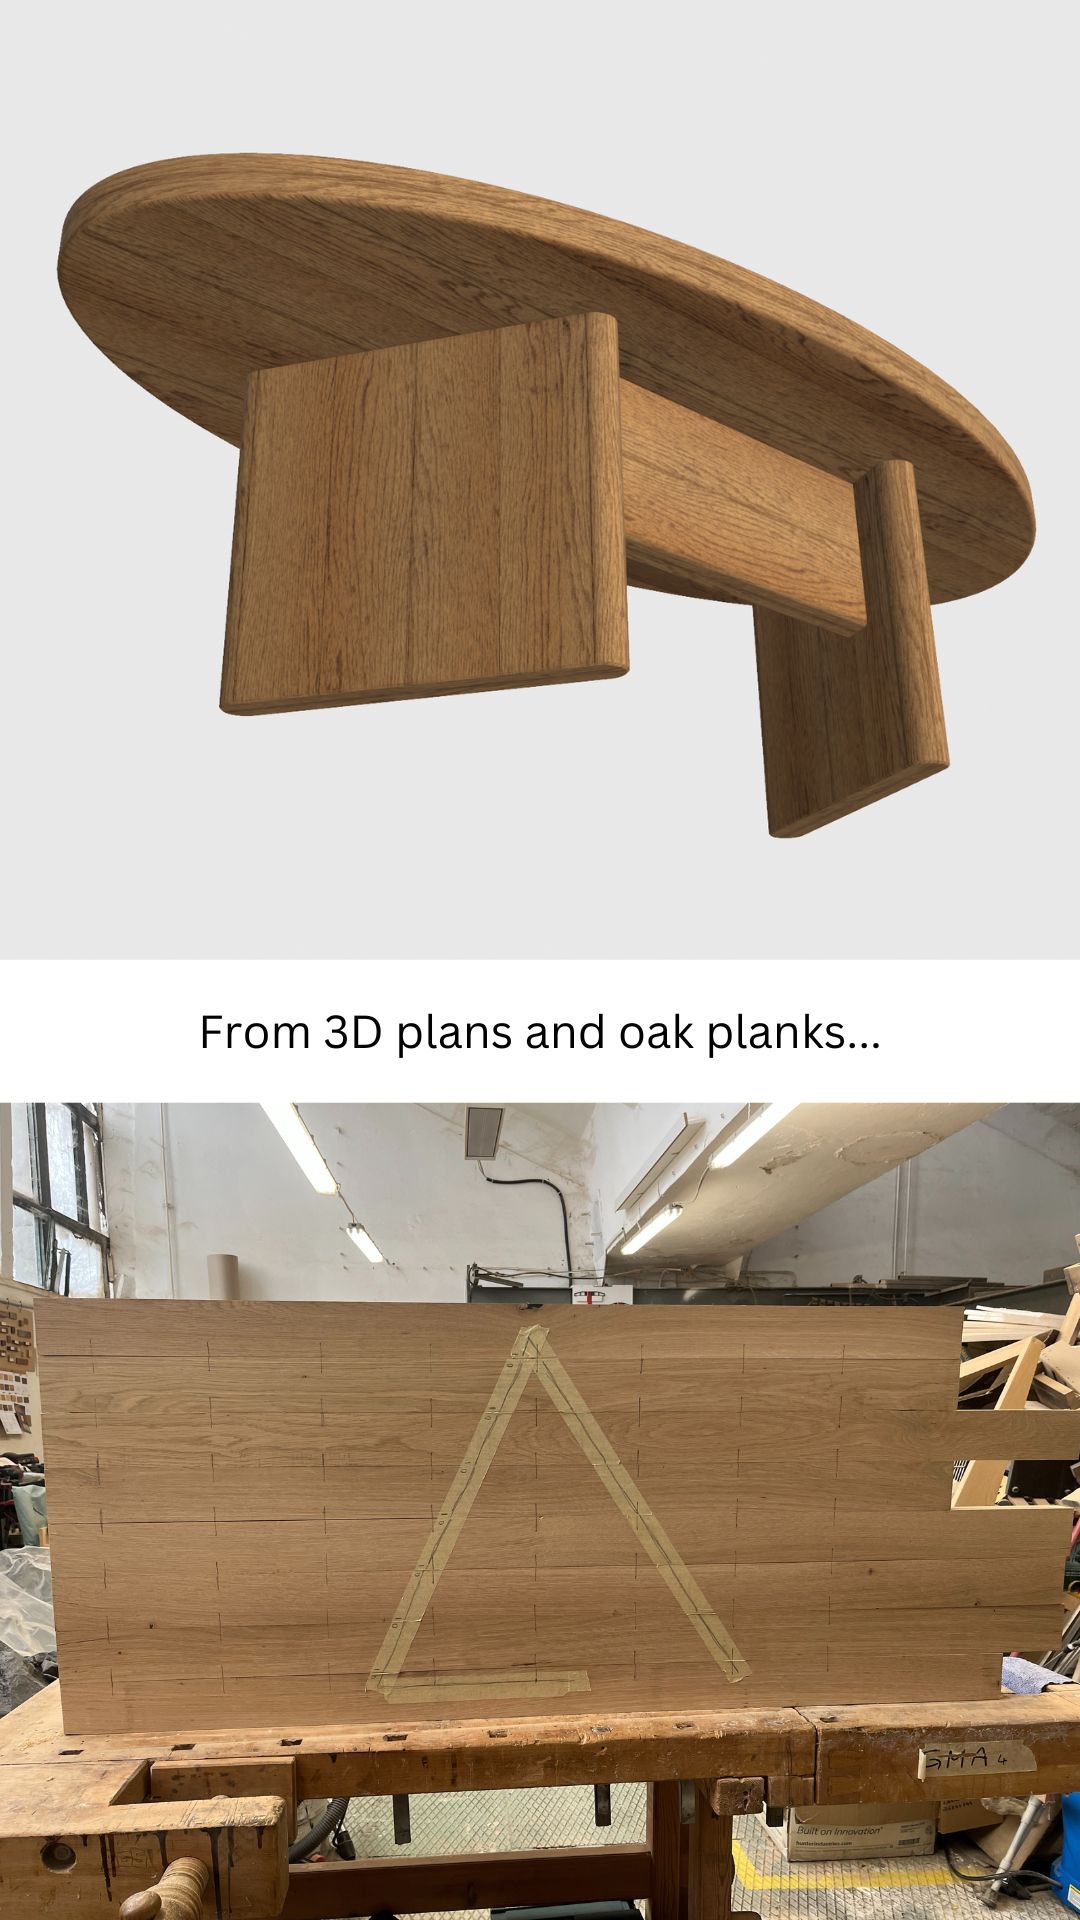
This coffee table project was filled with these moments. I started with a solid concept—Japanese and Scandinavian-inspired, heavy oak, simple but elegant lines. The design process was smooth, translating the initial vision into a 3D model, incorporating the input from the friends commissioning the table, and ensuring the proportions felt right. But from the moment I started working with the actual solid wood, things took on a life of their own.
The Unexpected Turns
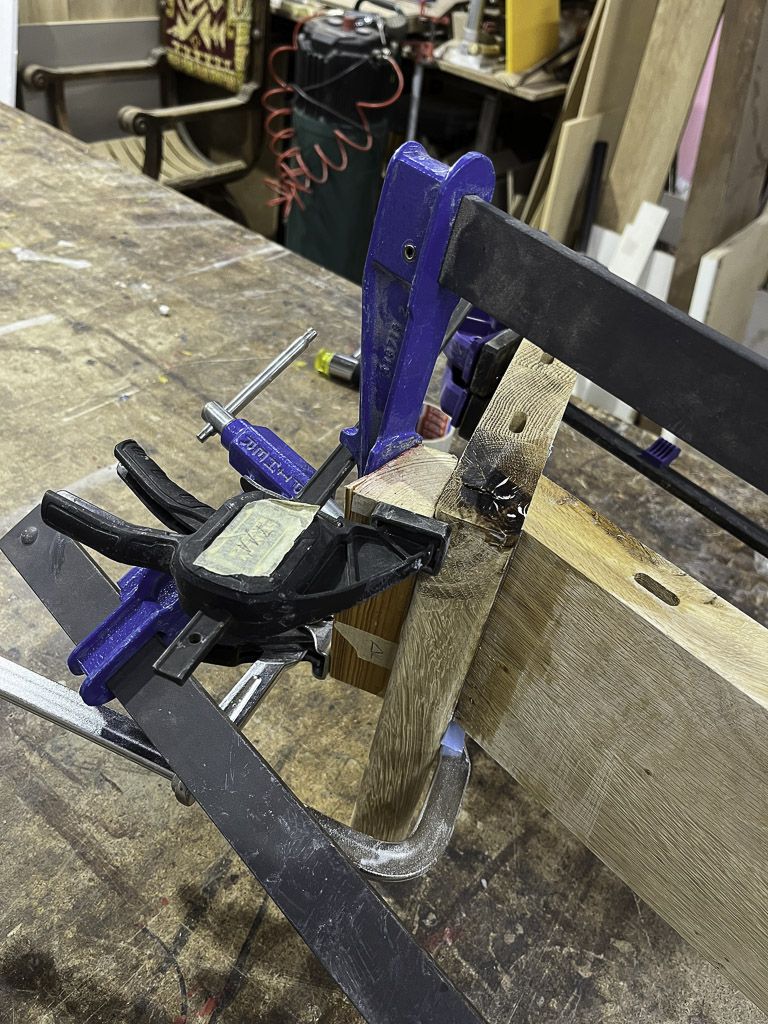
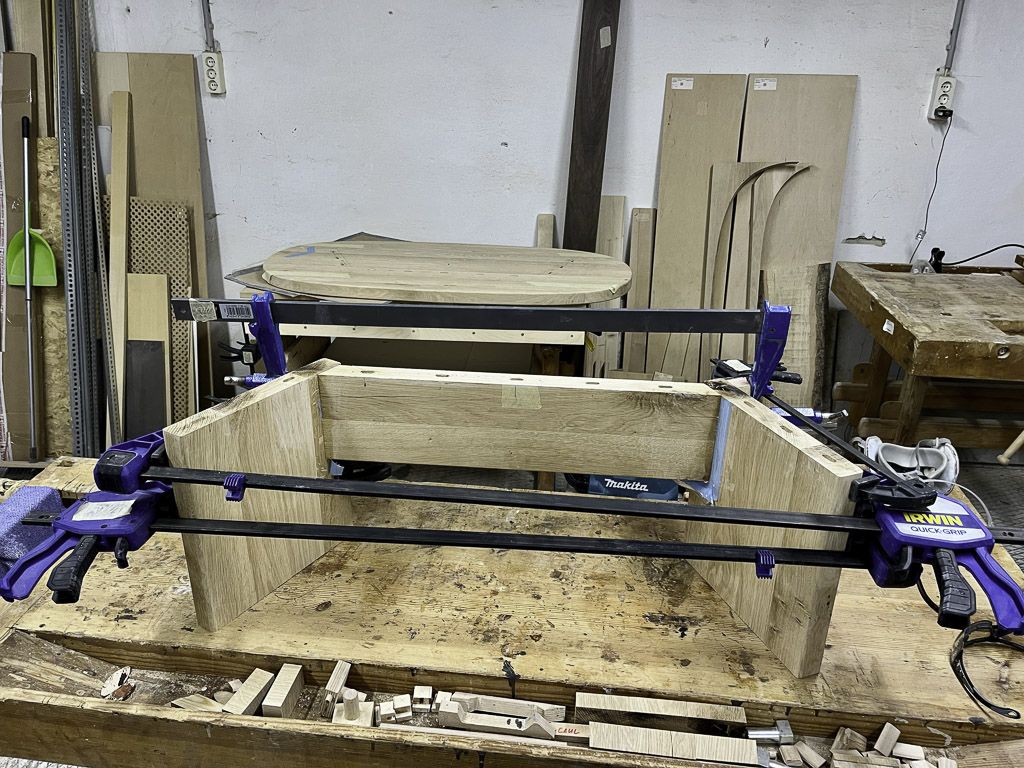
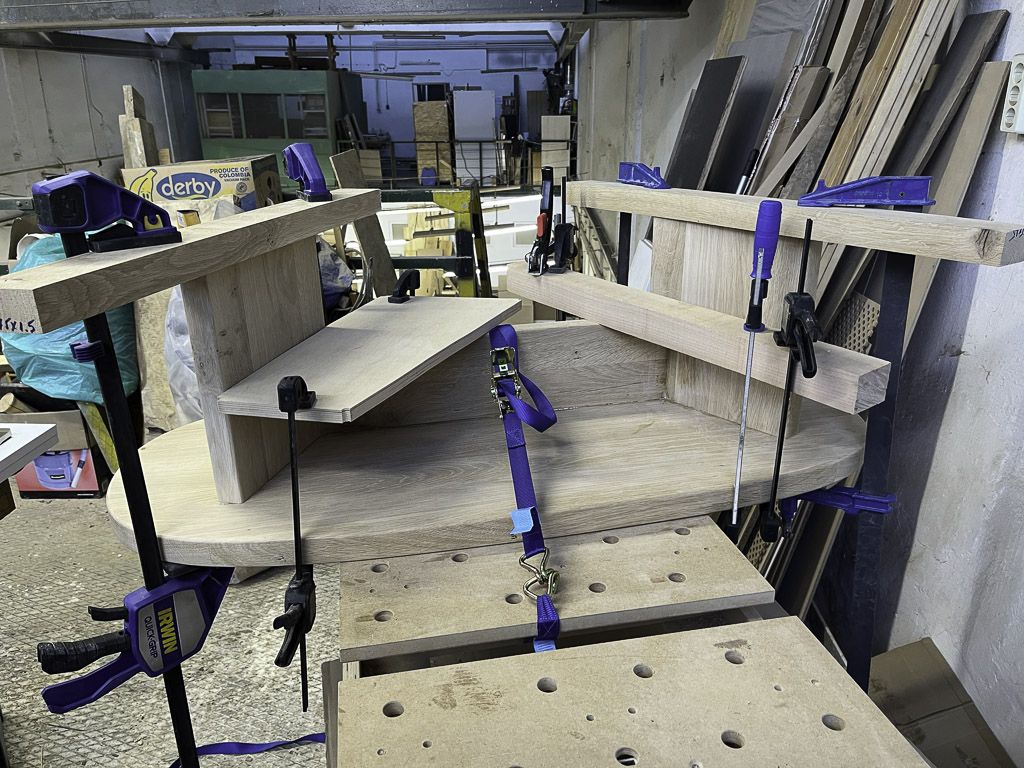
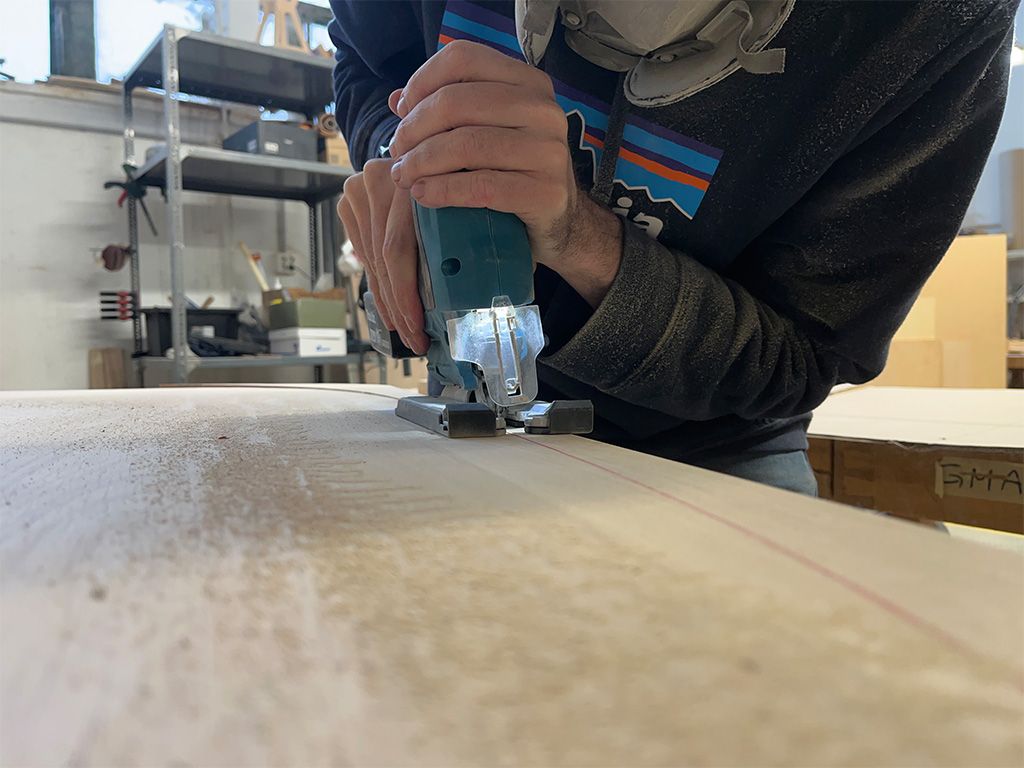
The glue-up was intimidating. The tabletop was massive, too large for my planer, so the boards had to align perfectly. I had to redo my entire clamping setup mid-glue while the clock was ticking. Then came the jigsaw incident—blade wander forced me to trim the tabletop smaller than planned. Routing the tabletop edge? I used a handheld router, stumbled upon some end grain, and ended up cutting into what I intended to be the top, flipping the piece over and embracing the ‘backup’ side instead. Mistakes kept happening, and I kept adapting.
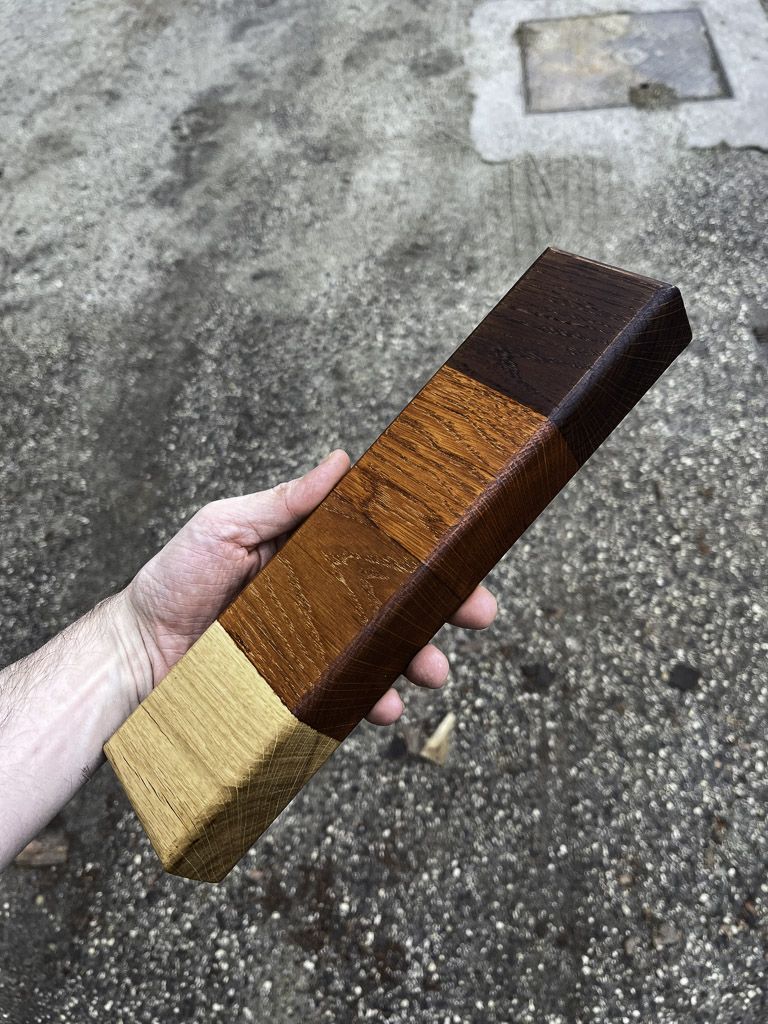
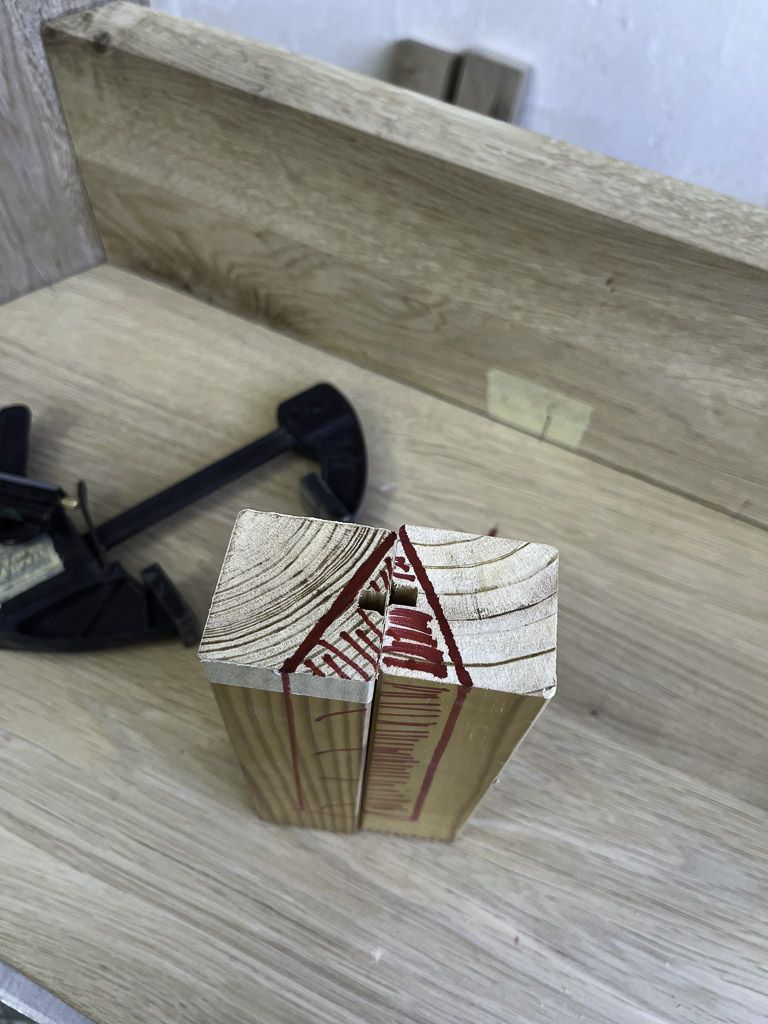
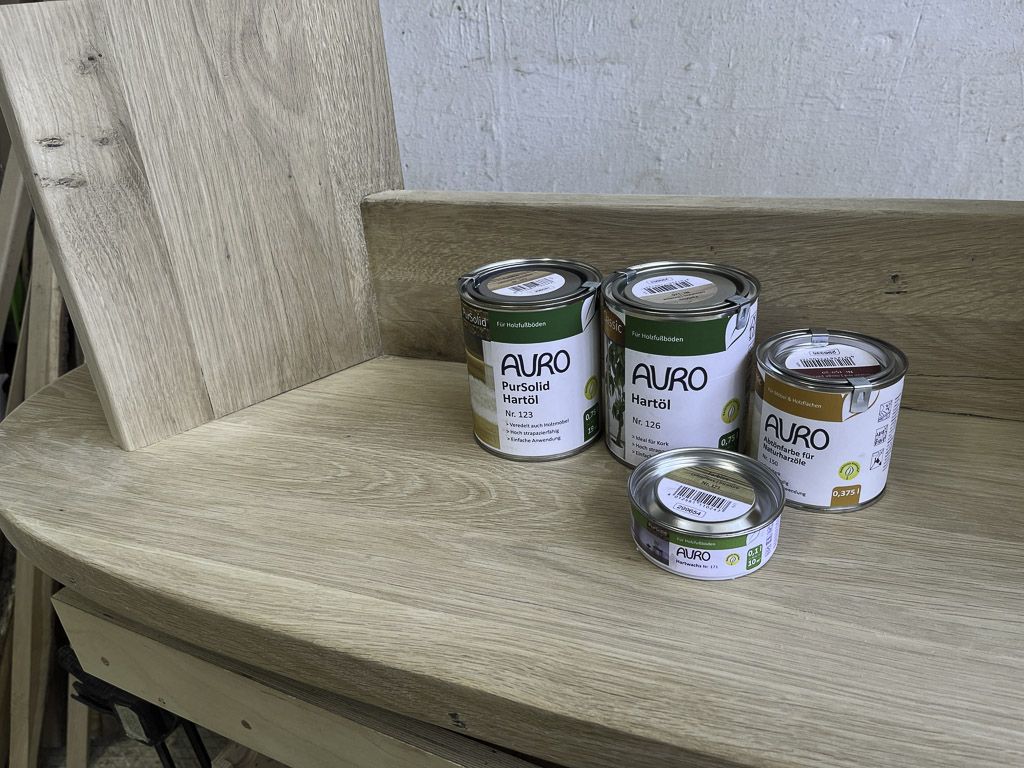
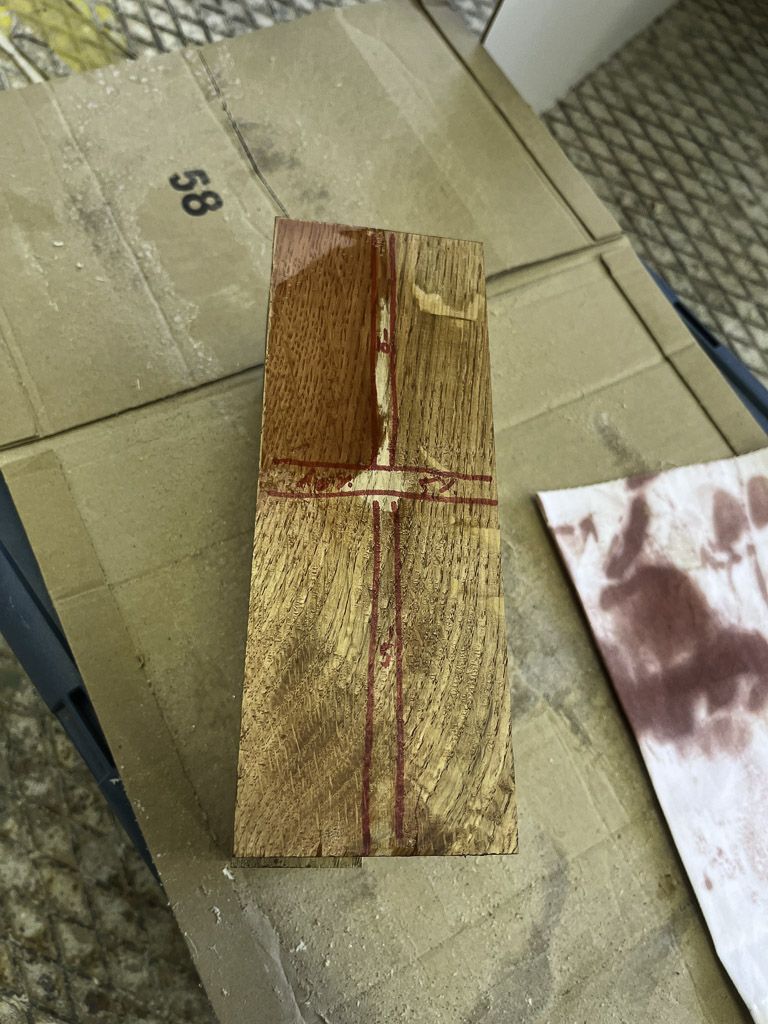
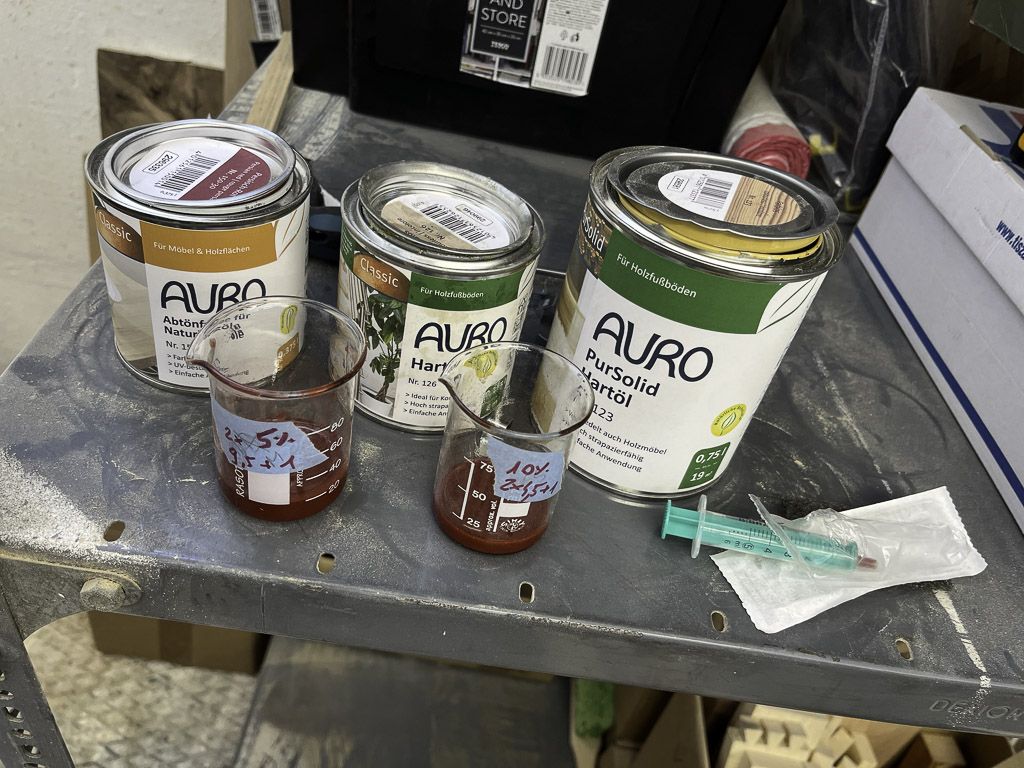
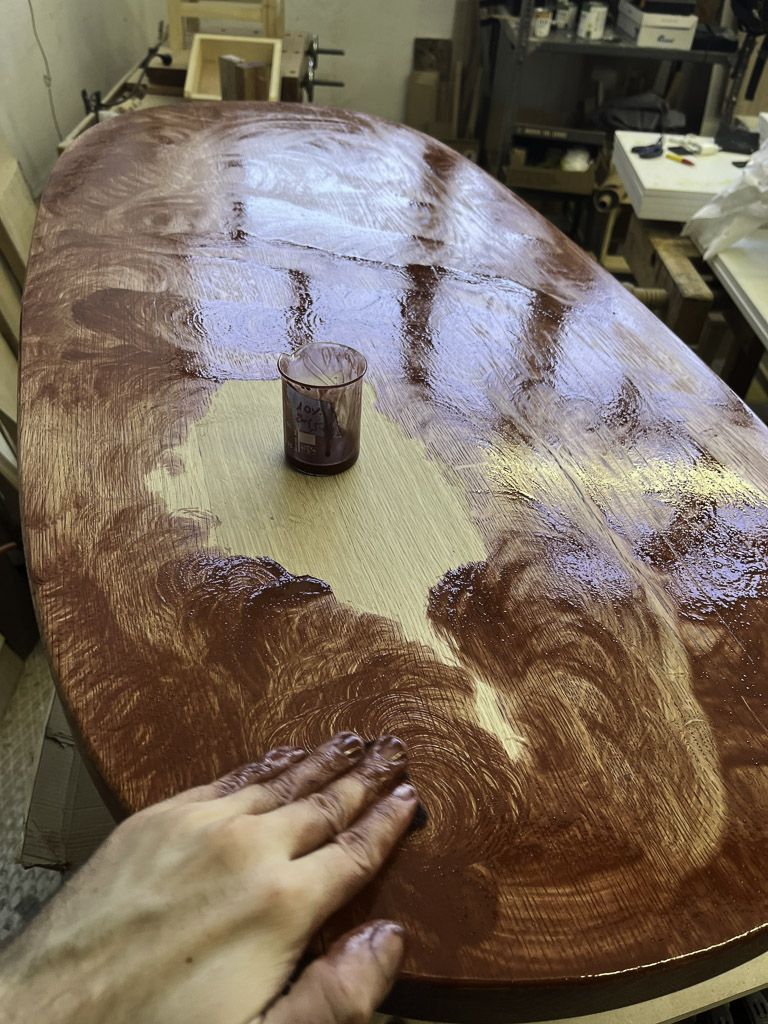
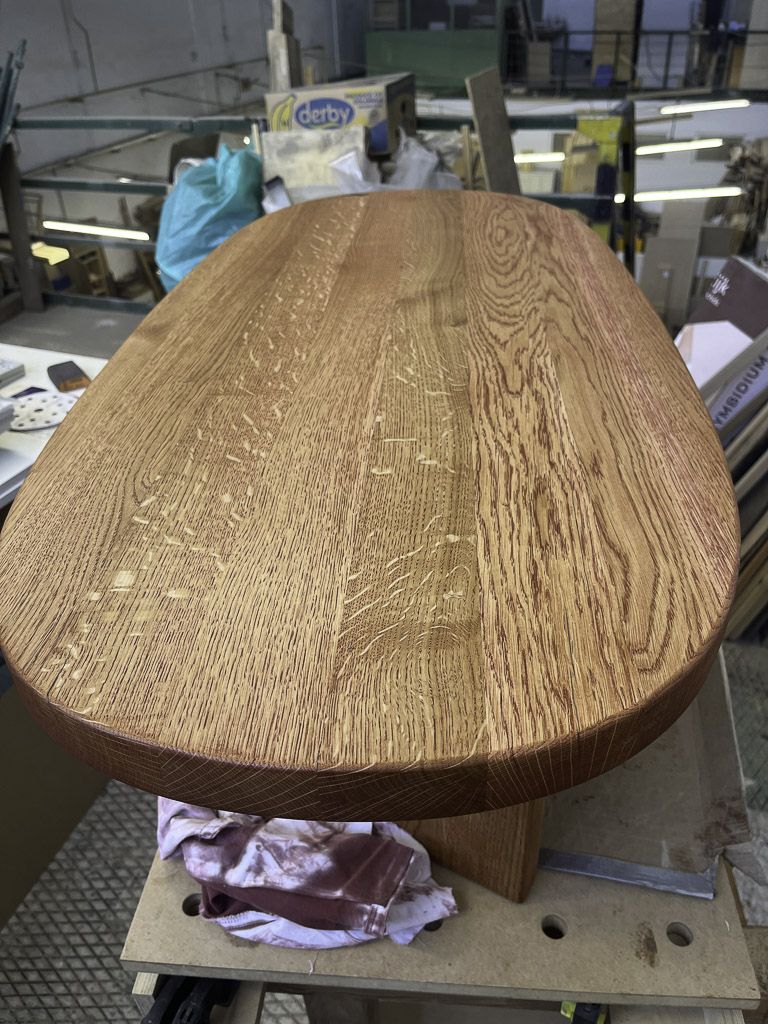
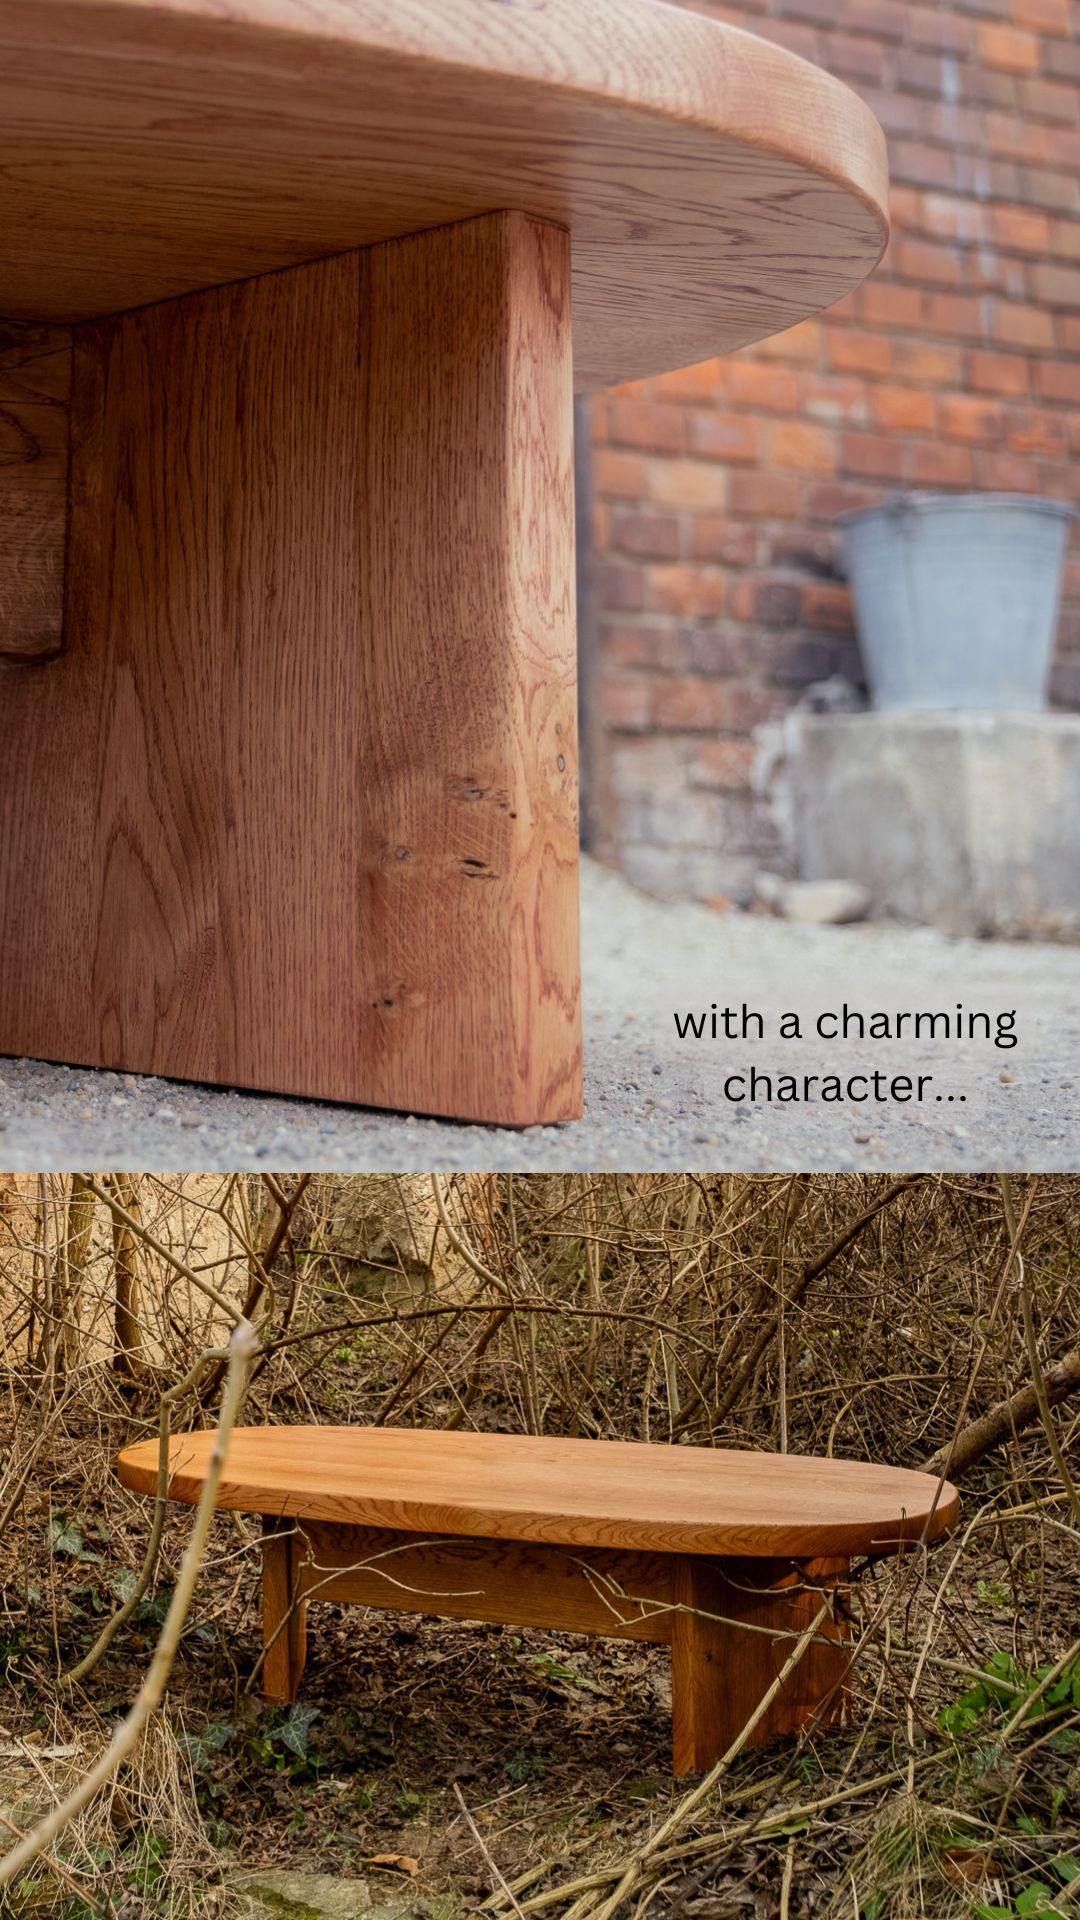
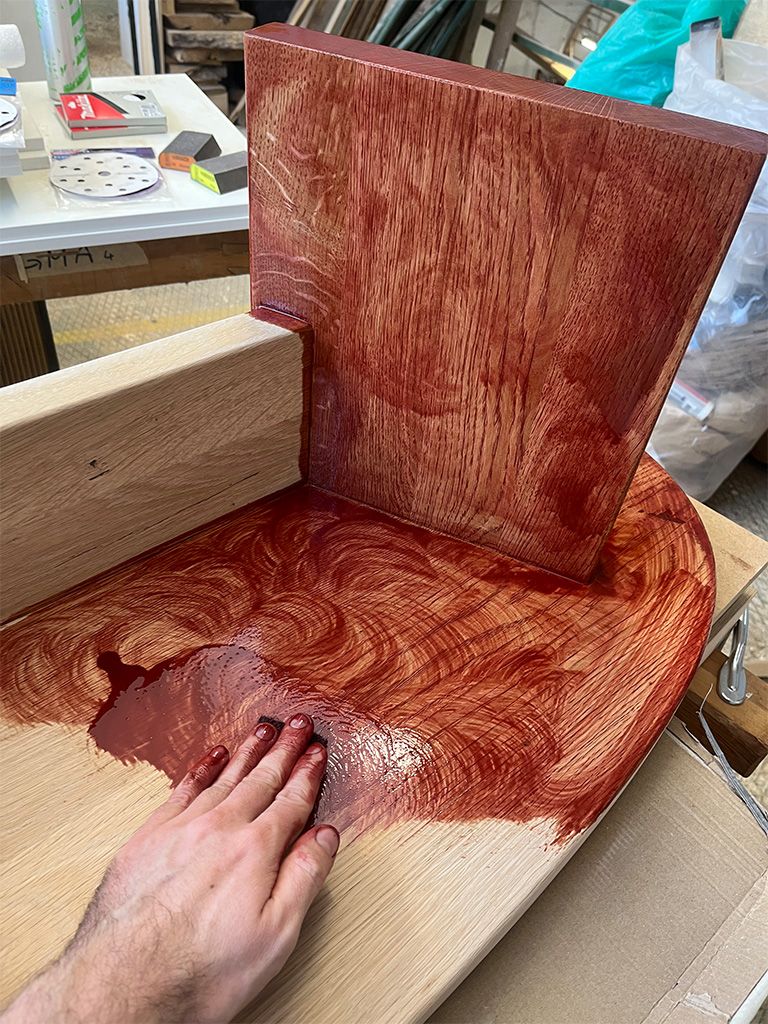
I tested different joinery methods—Lamello Clamex S-20, Festool Domino Connector, pocket hole screws with custom oak plugs—only to land on a classic, wood-and-glue-only solution. No plastic, no metal, just wood. And then, the finishing—after making a careful four-colour varnish sample board, my friends didn’t like any of them. I ended up using pigmented oil, which initially looked terrifyingly red before it settled into a deep, rich tone.
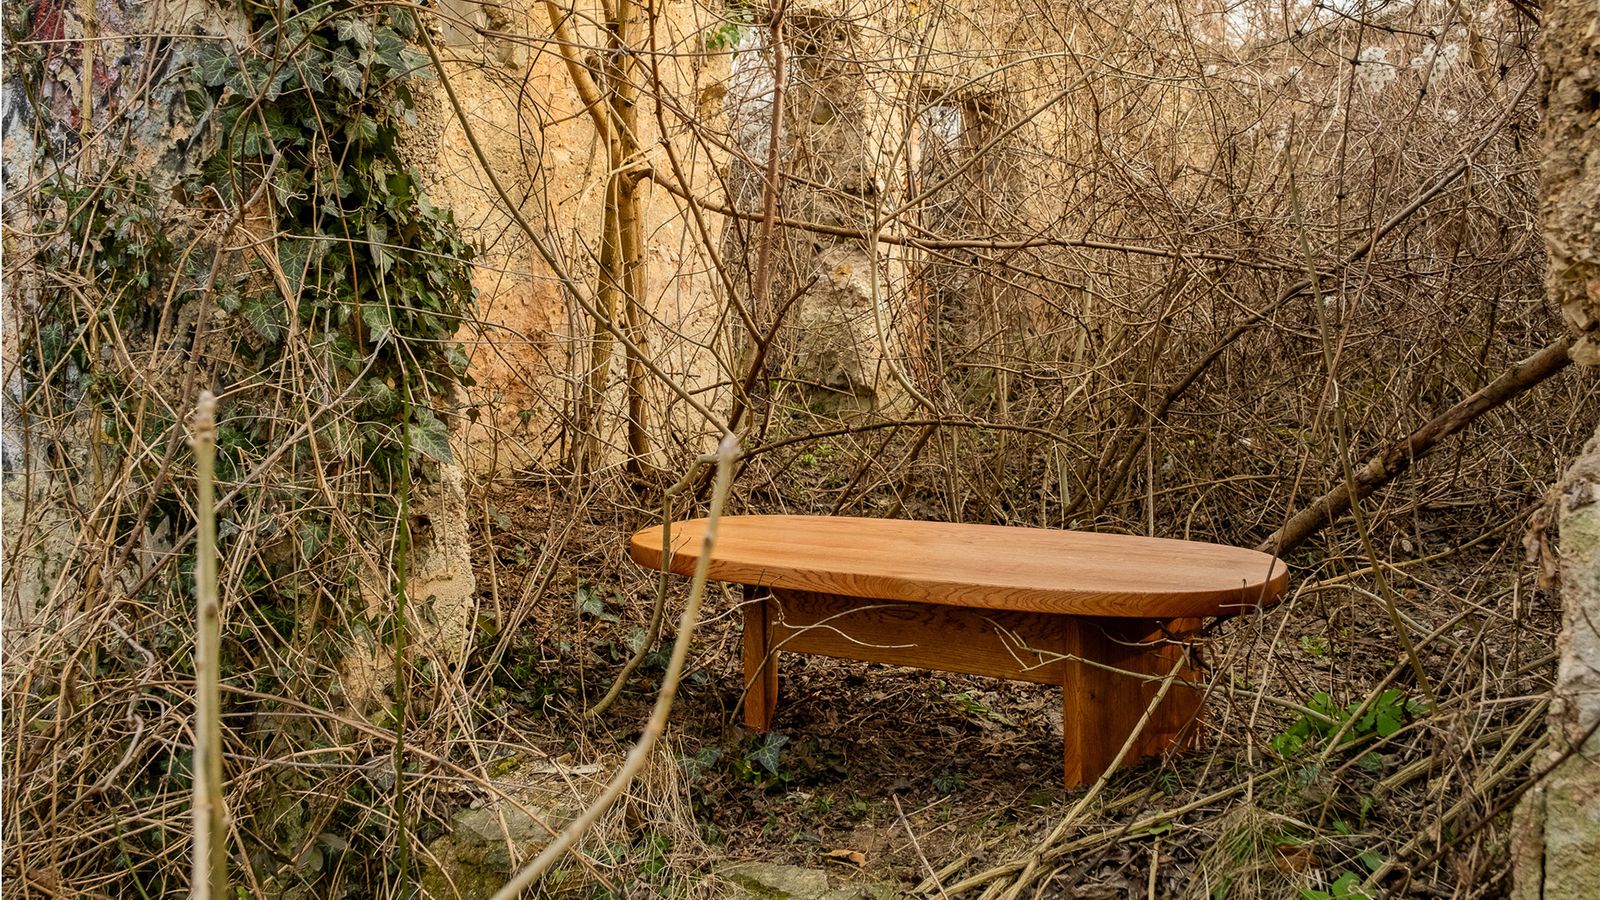
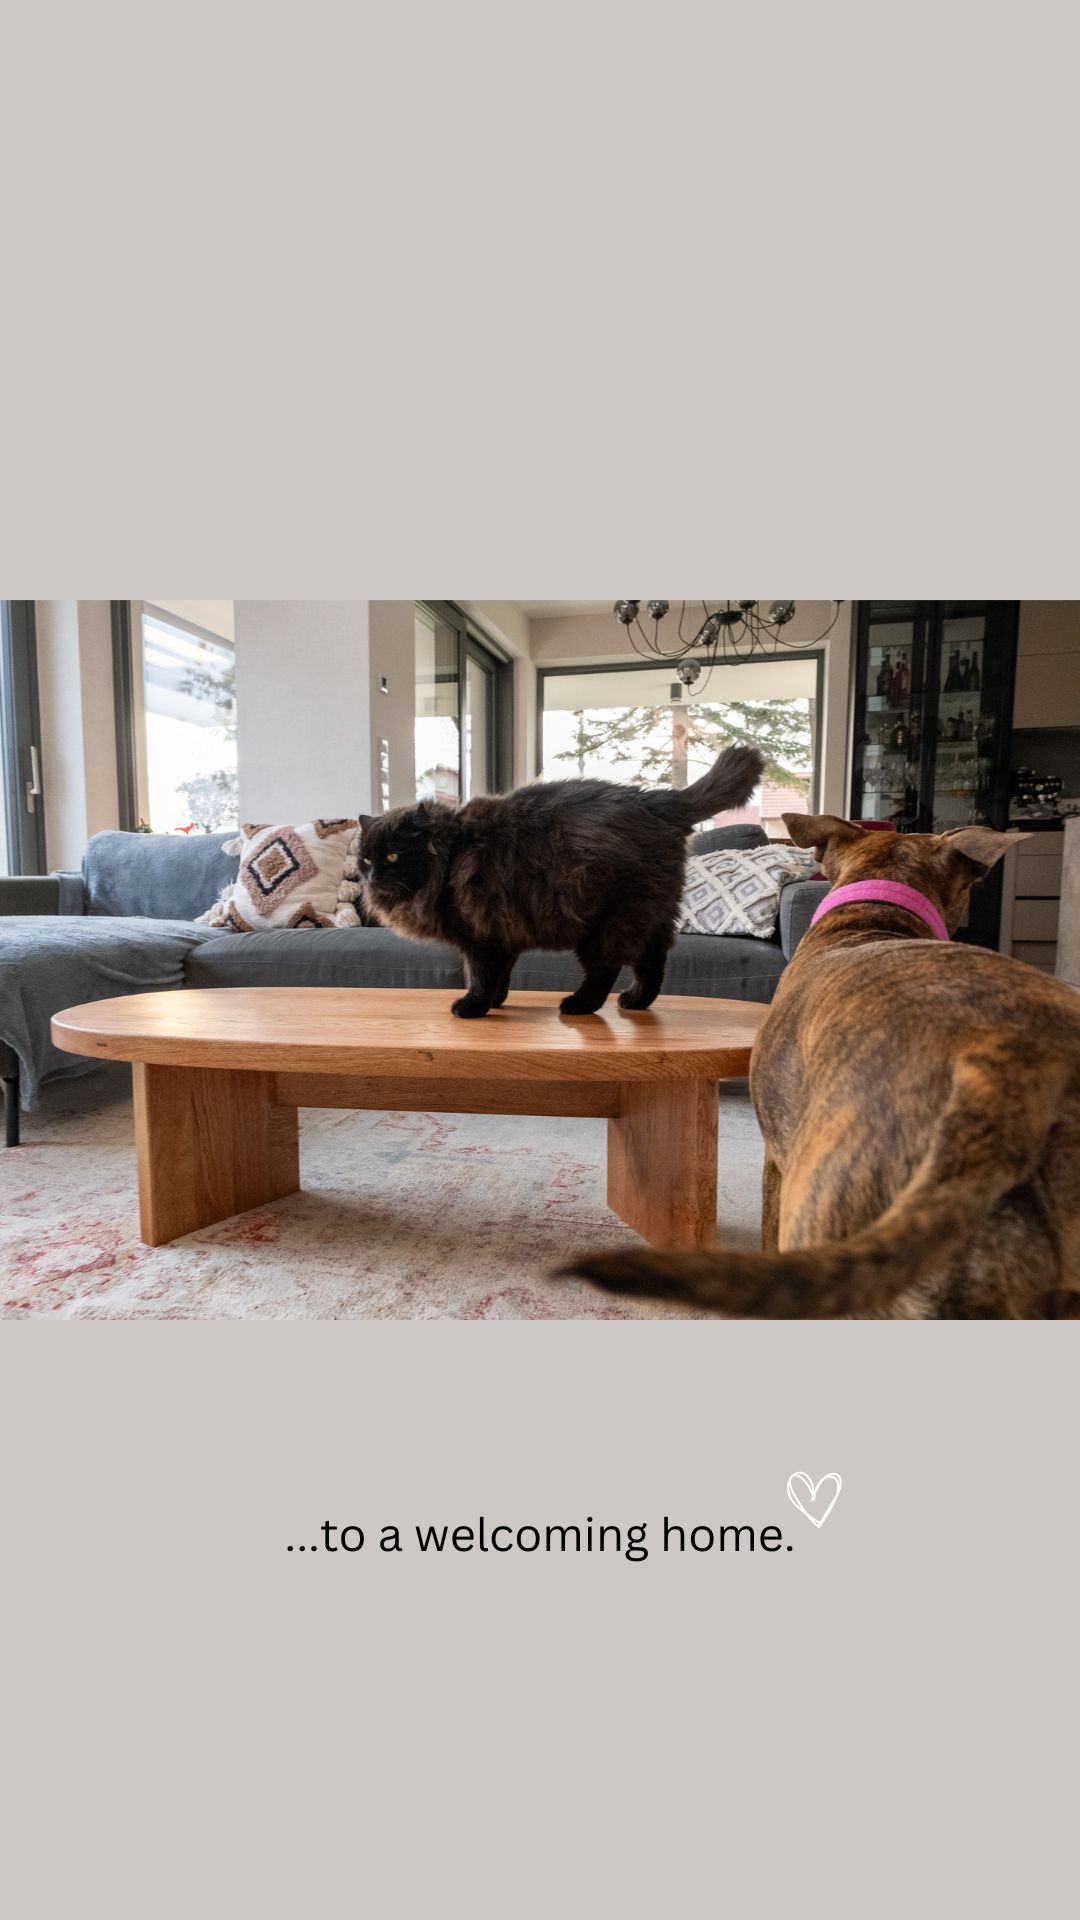
Even the final step—the photoshoot—had an unexpected twist. I took the table into the woods and found an abandoned, decaying hut, where the contrast between refined craftsmanship and nature’s slow reclaiming created a striking image.
And then, I delivered the table. Minutes later, one of my friends’ small children was already using it, as if it had always been there. No ceremony, no hesitation—just immediate, everyday use. And that’s when I knew it was truly done.

Workbench Notes: What I Learned
- Ovals behave differently than rectangles. Plan biscuit placement accordingly.
- Jigsaw blades wander. I should have left more margin for error, or devised a guide rail solution for making the blade wander less.
- Handheld template routing a large tabletop is risky—assemble the plunge router next time for more support.
- When I tried fastening the first Lamello Clamex S-20, the hex head practically melted away at what I felt was the slightest of forces, making the reversibility feature impossible.
- The Festool Domino Connector leaves an ugly hole that’s practically impossible to plug with wood in a way that blends seamlessly.
- Pocket hole screws with matching oak plugs were a viable option but not aesthetically ideal.
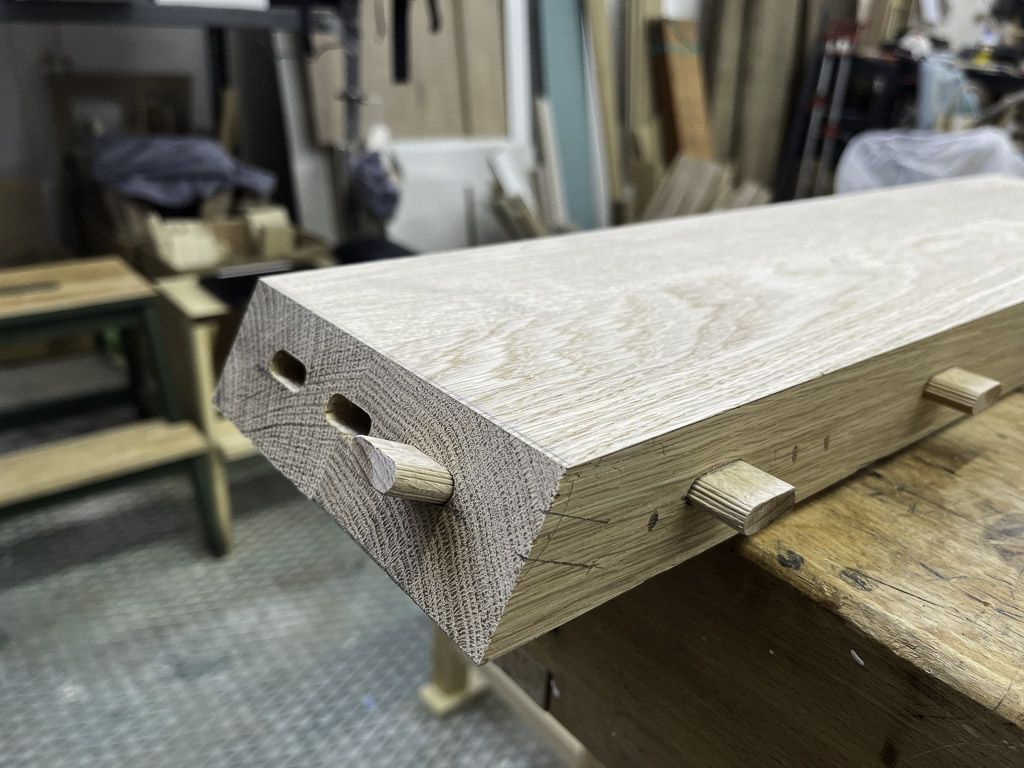
- Final solution: solid wood floating tenons and glue—no metal, no plastic, no visible joinery.
- Pigmented oil looks terrifying when first applied but settles into a beautiful tone. Trust the process.
- Outdoor shoots can add a story element, especially with unexpected locations. Contrasting refined craftsmanship with raw nature makes for compelling imagery.

This project reinforced something I keep learning: I can plan, prepare, and anticipate—but at some point, I have to commit. Spread the glue, make the cut, apply the finish, and call it done. And that’s the part I want to take with me: making final decisions doesn’t have to be terrifying. Each project builds my confidence, reminding me that I can figure things out along the way. And maybe, just maybe, the next ‘point of no return’ won’t feel quite as scary.
Visual Notes: